
Of all the fall shapes, the oak leaf might be the most satisfying to crochet. Those pointed lobes along each side look fancy, but they are built from stitches you already know: chain, single crochet, half double, double, and treble. The magic is in mixing stitch heights — tall stitches make the wide points, short stitches keep the ends narrow.
What you’ll need
- A crochet hook suited to your yarn (3.5–4.5 mm works well for worsted-weight)
- Yarn in fall shades: rust, mustard, burnt orange, golden yellow, burgundy, olive green, brown (cotton yarn gives the clearest stitch definition and holds the shape)
- Scissors and a yarn needle
- Optional: stitch markers, twine for stringing a garland
The oak leaf pattern at a glance
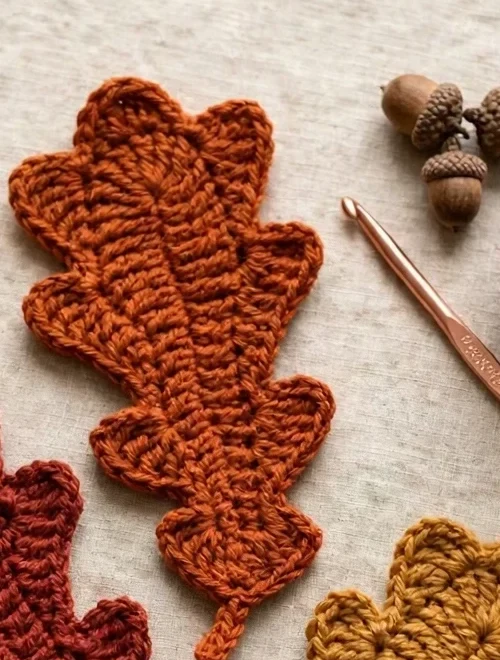
The leaf starts with a chain of 20. Round 1 works single crochets, half doubles, doubles, and trebles up one side of the chain, rounds the end with 8 trebles in the last chain, then mirrors the stitches back down the other side. Round 2 builds the pointed lobes: groups like “3 dc, ch 3, sl st” and “3 tr, ch 4, sl st” worked into single stitches create each oak point, mirrored on both sides. A short chain-5 stalk finished with single crochet and slip stitches completes the leaf. Keep your tension even on both sides so the leaf stays symmetrical, and lightly block it if the points want to curl.
6 Ways to Crochet an Oak Leaf
 Save
1. Classic Green Oak Leaf
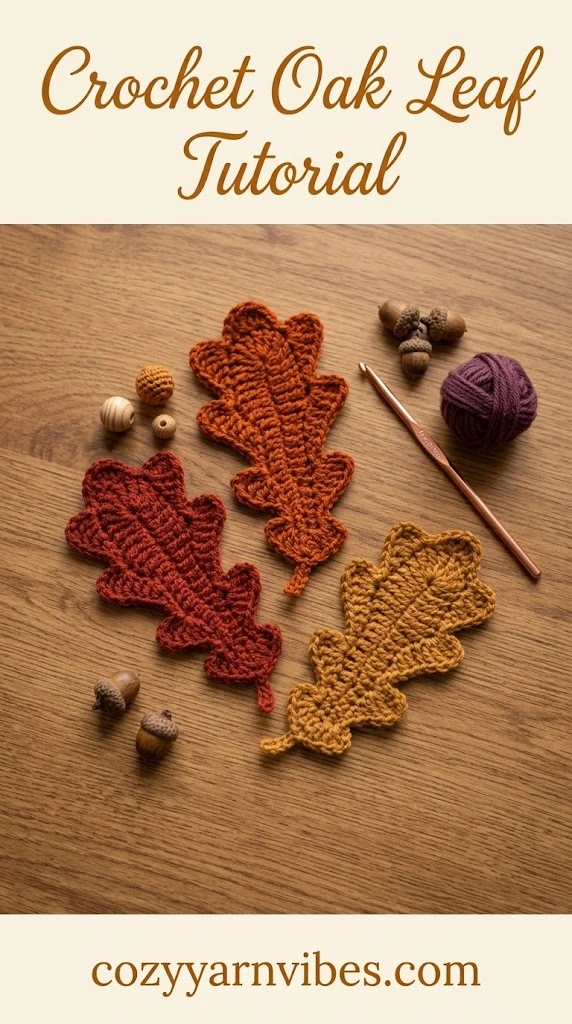
Work the leaf in a single shade of green and it becomes a year-round botanical appliqué instead of a seasonal piece. Sew it onto a tote, a sweater, or a fabric headband, or scatter a few across a spring wreath. Green oak leaves also pair beautifully with crochet acorns and pine cones for woodland-style projects.
Tip: cotton yarn is your best friend here — it keeps the edges crisp for appliqués.
 Save
2. Autumn Oak Leaf
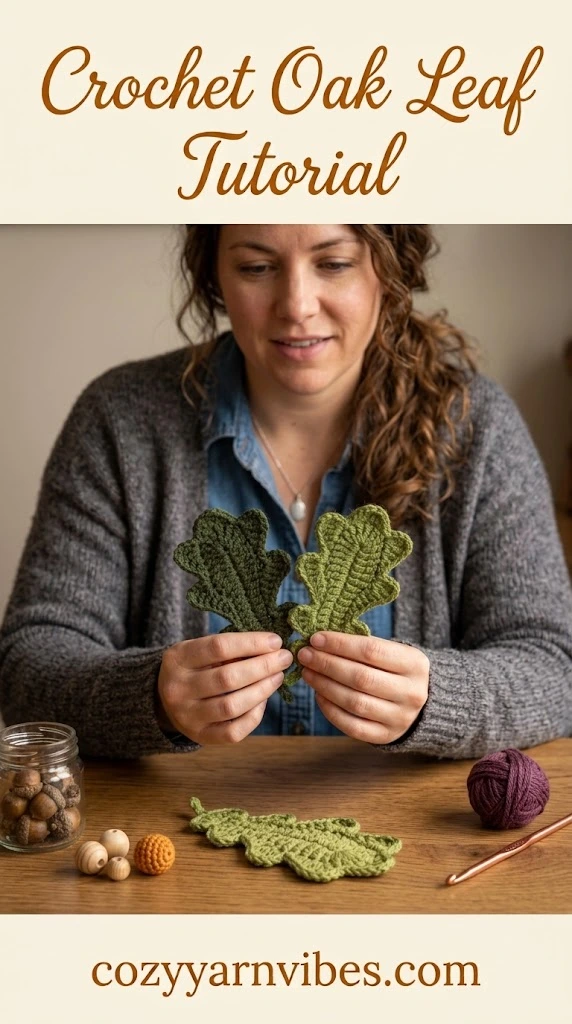
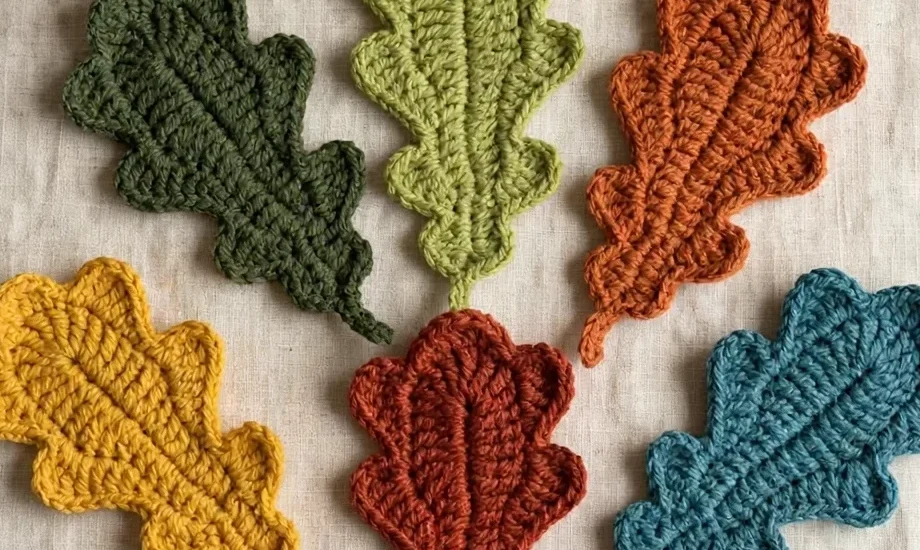
This is the classic fall version: the full-sized leaf worked in rust, burnt orange, and golden yellow. The pointed lobes read instantly as autumn, especially in a pile of five or six shades mixed together. Make a whole bowlful and scatter them across the Thanksgiving table, or tuck them into a fall wreath.
Tip: keep your tension even on both sides of the foundation chain — uneven tension is what makes one side bigger than the other.
 Save
3. Two-Color Oak Leaf
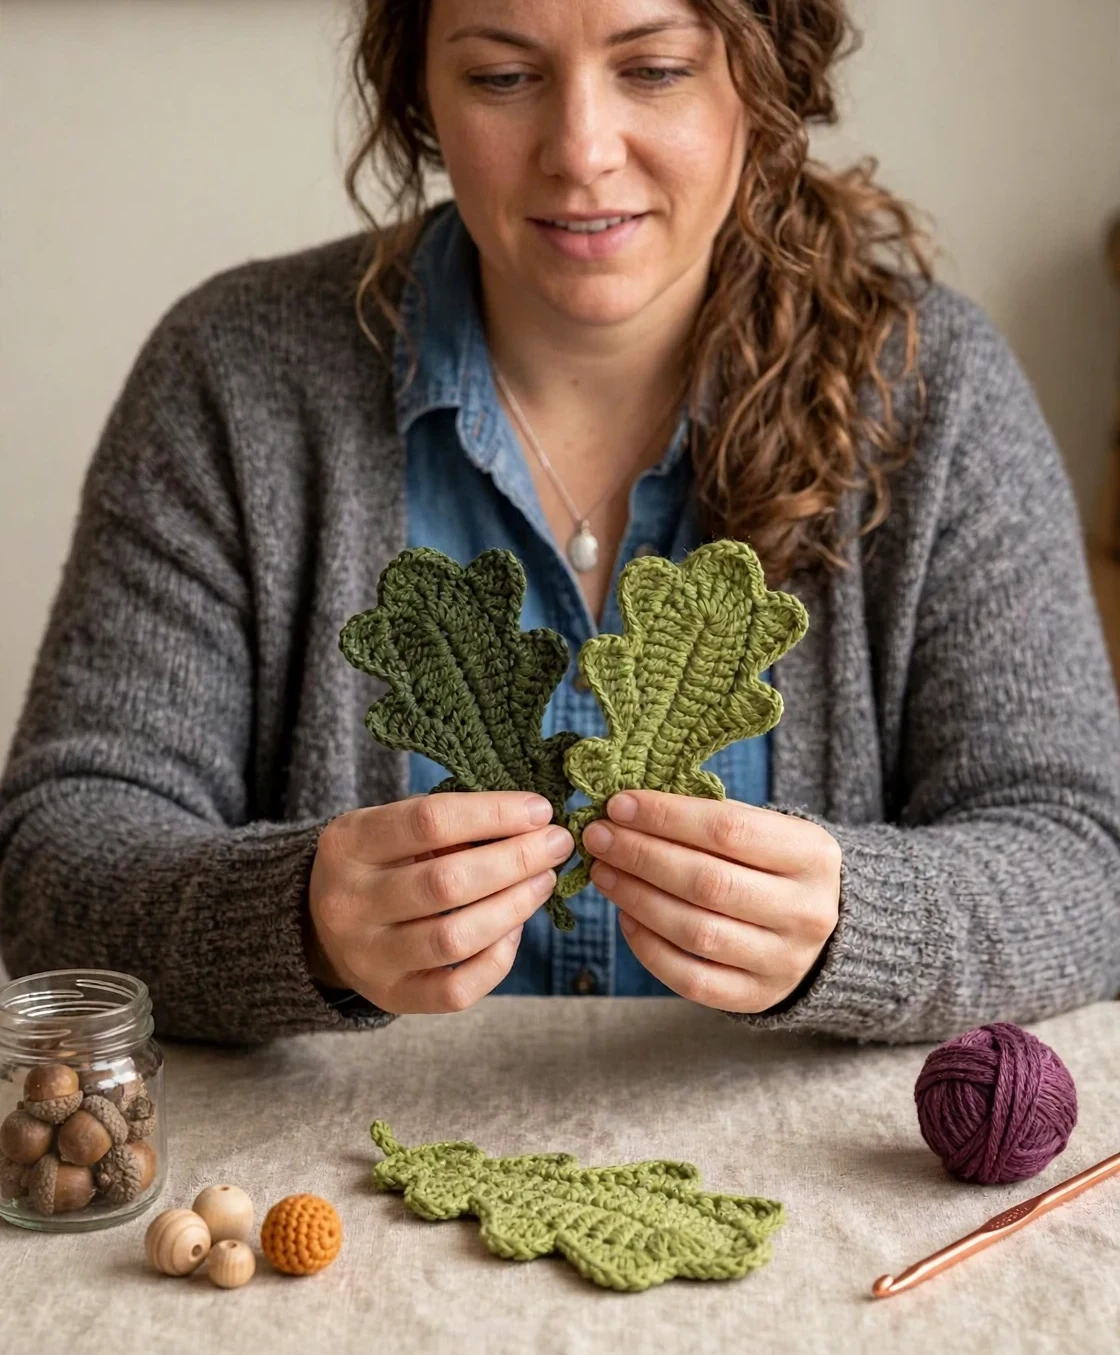
Want the lobes to really pop? Work the main leaf in one color and the stalk — or a few of the tall treble-crochet points — in a contrasting shade. A deep burgundy leaf with a golden stalk looks rich, and it is still the same pattern: you just switch yarn at the end. Laying out several color combinations first, like the arrangement below, helps you pick pairings before you commit.
Tip: carry the unused color behind your work instead of fastening off — fewer ends to weave in.
 Save
4. Mini Oak Leaves
Drop down to thin yarn and a small hook, and the same leaf shrinks into a darling mini you can use anywhere: sewn onto greeting cards, glued to hair clips, added to earrings, or scattered as table confetti for a Thanksgiving dinner. Minis work up in minutes, so this is the perfect scrap-yarn version. (Photo shows the standard-size leaf held for scale — work yours with fine yarn and a 2–2.5 mm hook for true minis.)
Tip: block your minis with a quick press of steam — tiny stitches curl more easily.
 Save
5. Large Oak Leaves
Go the other direction with bulky yarn and a big hook, and your oak leaf becomes a statement piece. Oversized leaves are gorgeous on fall wreaths, as table décor under candles, or mounted on the wall in a cluster of three. The stitch placement does not change — just the yarn weight and hook size — so if you can make the standard leaf, you can make the giant one.
Tip: bulky yarn hides small mistakes, so this is a forgiving first leaf.
 Save
6. Oak Leaf Fall Garland
The best use for a big pile of oak leaves: thread them onto a long chain or a piece of twine and hang the garland over a window, across the mantel, or along a Thanksgiving table. Mix your autumn leaves with a few green ones and even a crochet pumpkin or two for a full harvest look. The leaves lie flat, so the garland looks tidy from every angle.
Tip: leave a long tail on each leaf as you finish — use it to tie the leaves directly to the twine, no sewing needed.
Caring for your crochet oak leaves
- Hand wash only when needed: Use mild soap and cool water — cotton and acrylic both handle this fine.
- Don’t wring them out: Press the leaf gently between a clean towel to remove water instead of twisting it.
- Dry flat: Lay finished leaves flat until completely dry so the points stay crisp.
- Skip high heat: Hot water and hot dryers can distort the shape of some yarn fibers.
- Weave in your ends well: Small pieces get handled a lot — secure tails with a yarn needle so nothing works loose.
That is one pattern, six projects, and a whole autumn of decorating sorted. Pick your favorite version and start chaining — before you know it, you will have a pile of leaves and a dozen ideas for them.
Pattern inspiration: the free oak leaf pattern this article is based on comes from cozyyarnvibes.com. All project descriptions and copy here are my own original writing. The source page includes a written pattern and stitch diagram but no embedded video tutorials, so none are linked above.
