
Few handmade decorations feel as much like Christmas as a crocheted snowflake. One little flake works up fast — a single evening’s project — yet on a tree branch, a wrapped gift, or a winter window it looks like real frozen lace. This pattern is worked in the round in just three rounds, then blocked and stiffened so every point sets crisp and sharp. Below is the full pattern overview for the six-point lace snowflake, with all the stitch notes, materials, and finishing steps you need, plus the video tutorial that walks you through it stitch by stitch.
What you’ll need
- Fine lace-weight cotton crochet thread or 4-ply fingering-weight cotton yarn — white is the classic choice; green or your favorite holiday color works too
- Steel crochet hook, 1.5–2.0 mm (or the size that suits your thread)
- Tapestry (yarn) needle and small scissors
- Blocking board, rust-proof pins, and fabric stiffener — or a 50/50 mix of PVA craft glue and water
- A metallic ribbon, or yarn for a chain-20 hanging loop, to hang the finished snowflake
Crochet Snowflake Christmas Ornament
 Save
1. Classic Six-Point Lace Snowflake
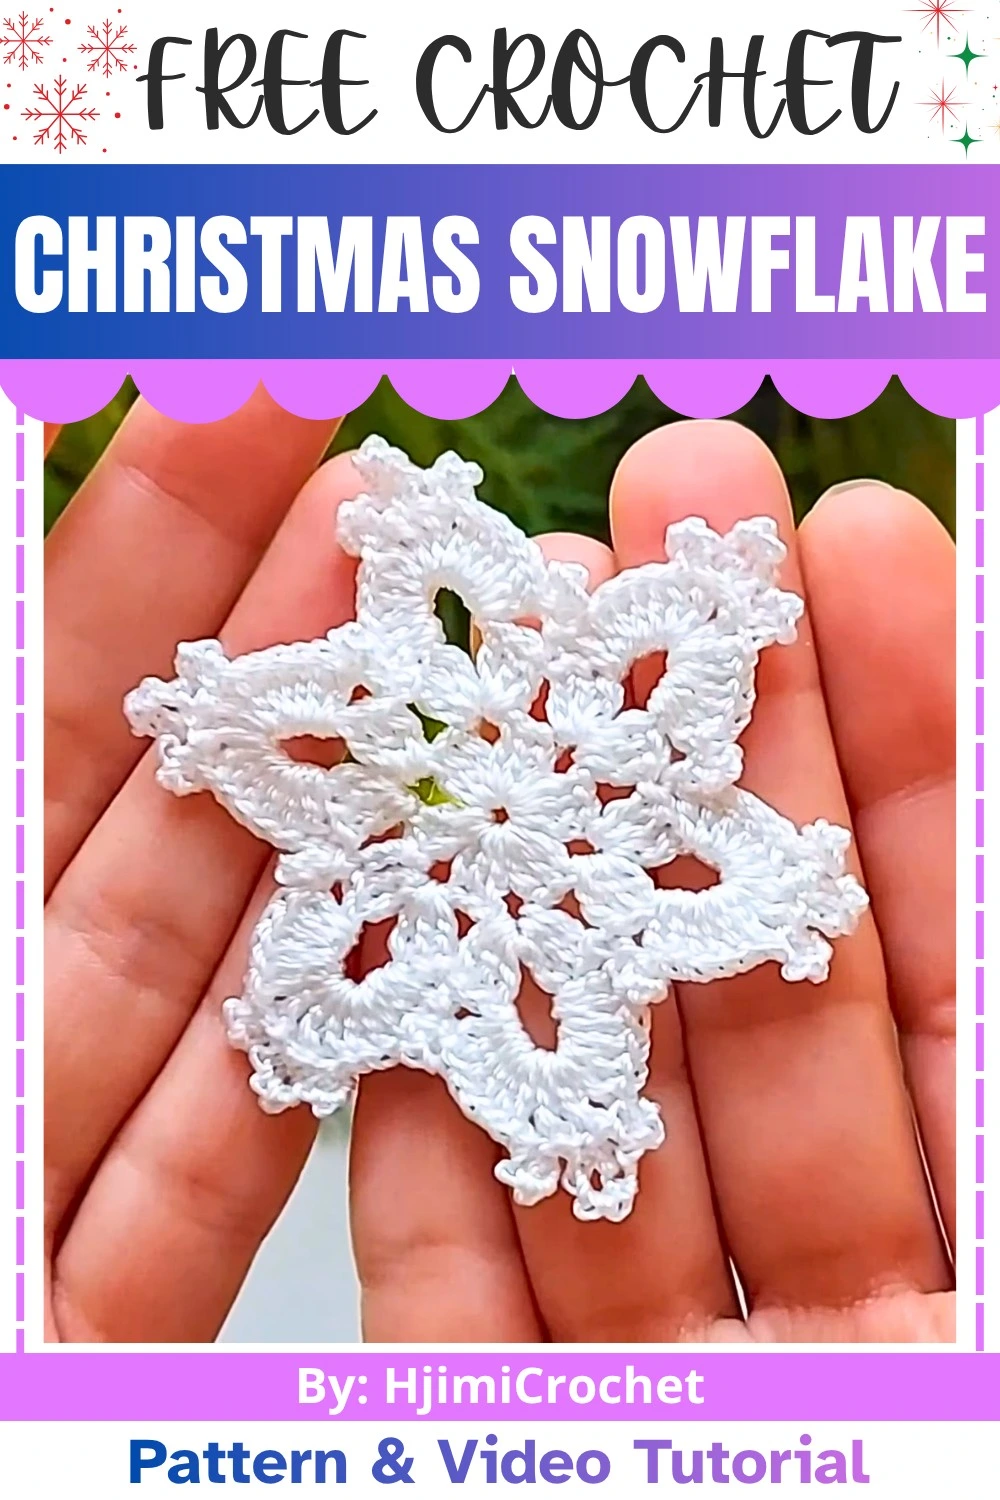
The heart of this project is a delicate six-point snowflake worked entirely in the round, starting from a magic ring and building outward. Round one sets the star base: six groups of three double crochets, each separated by chain-3 spaces. Round two adds the shells — a cluster of three double crochets, a chain-5 corner, three more double crochets — into each chain space, with chain-1 spaces between the shells to keep the flake open and airy. Round three is where the magic happens: valley picots between the shells, side picots along each point, and one tall chain-7 picot at every tip that gives the snowflake its spiky, frosty silhouette. Blocked and stiffened, the finished flake measures about 3.5–4 inches across — light as air and crisp to the touch.
The source pattern also suggests a few pretty variations once you’ve made the classic version: work a metallic thread held together with your main yarn, crochet the final round in a contrasting silver or gold glitter yarn for frosty-tipped edges, thread a metallic ribbon through one of the picot tips for hanging, or connect several finished snowflakes along a long chain to make a festive holiday garland.
Video tutorial: HjimiCrochet’s step-by-step snowflake ornament tutorial
Tip: keep your stitches consistent and your picots and chain spaces tight and uniform — then pin every one of the six points out on the blocking board and let the stiffener dry fully overnight. Crisp, even points are what sell the snowflake look.
Caring for your snowflake ornaments
- Stiffen for shape: A light coat of starch or fabric stiffener (or the 50/50 glue-water mix) keeps the points crisp — essential for thread snowflakes.
- Dust, don’t wash: A soft brush or lint roller keeps them fresh; washing ruins the stiffening.
- Store flat between seasons: Layer finished snowflakes between sheets of tissue in a box so the points don’t bend.
- Keep them dry: Humidity softens starched snowflakes, so store them somewhere dry.
- Secure your hangers: Tie hanging loops tightly and weave ends in well — thread snowflakes are light and pull loose easily.
One snowflake, one evening, and you’ll have an ornament that looks like it fell from the sky. Make a batch for the tree, one for a gift topper, or string them into a garland — happy crocheting!
