
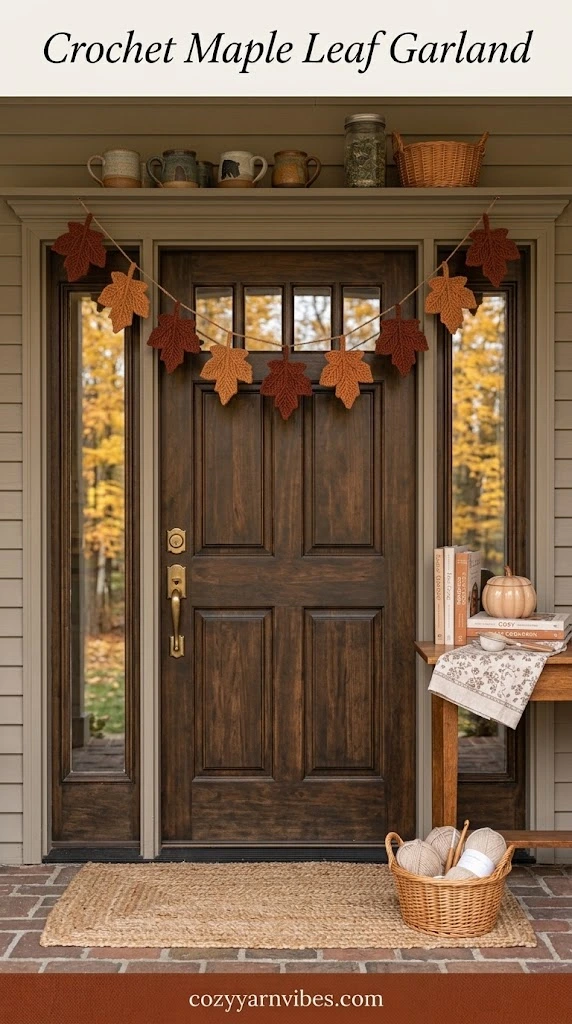
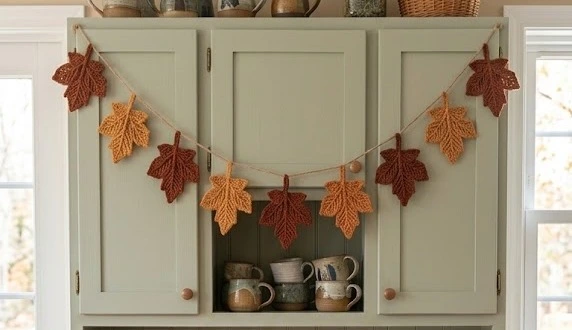
Nothing says fall like a handmade garland across the kitchen window. This easy crochet maple leaf garland is made from individual five-pointed leaves — each one worked in four rounds, then sewn onto a simple foundation chain. The pattern uses basic stitches (chain, single, half double, double, treble and slip stitch, in US terms), so a confident beginner can follow along, and every leaf needs only a scrap of yarn. Make five to seven leaves for a short window garland, or ten-plus for a full mantel.
What you’ll need
- Worsted-weight or medium-weight yarn — cotton or acrylic both work; only a small amount per leaf
- Fall colors: red, orange, yellow and brown (plus greens if you want the botanical version)
- A crochet hook that suits your yarn
- Yarn needle and scissors
- Measuring tape, if you want an exact garland length
4 Maple Leaf Garland Variations
 Save
1. Classic Autumn Garland
The original: leaves in red, orange, yellow and brown, just like the trees outside. Each leaf starts with a tiny center — chain 2, work 6 single crochet into the second chain, and join. Round two builds the five lobes around that center: the two outer lobes are the shortest (chain 5), the two side lobes a little longer (chain 8), and the middle lobe the tallest (chain 9). Round three shapes the leaf, growing taller toward each point with decreases worked between the lobes so the five sections read as one maple leaf instead of five petals. Round four adds the pretty part — a delicate scalloped edging of slip stitches and little chain arches, with double decreases pulling the lobes together.
Once your leaves are done, crochet a foundation chain to whatever length you need (leave extra at both ends for hanging), then sew each leaf on with a yarn needle — or attach them with slip stitches as you work the chain. Finish with a small chain loop at each end for hooks or nails, lay the garland flat, and gently spread the lobes with your fingers. If a leaf curls, a light steam or a finger-press flattens it out.
Tip: keep your tension relaxed while you work the leaves — tight stitches make the points curl and the leaf won’t lie flat.
 Save
2. Green Maple Leaf Garland
Same leaf, fresh palette. Work the whole garland in different shades of green and it stops being a fall decoration — it becomes a botanical garland you can hang year-round, in the kitchen or anywhere else. Mix sage, olive, forest and a bright leaf green for depth, or keep it to two greens for a calmer look.
Tip: alternating a light and a dark green leaf along the chain gives the garland a natural, sun-dappled feel.
 Save
3. Two-Color Garland
When you want the garland to match the room, simplify: pick two coordinating colors and alternate them leaf by leaf. Mustard and rust, cream and terracotta, or sage and cream — the regular rhythm looks tidy and intentional, and it is the fastest version to make since you are only juggling two balls of yarn.
Tip: join each new leaf with the yarn already on your hook and weave the ends in as you go — fewer tails to deal with at the end.
 Save
4. Mixed-Size Leaves
For a fuller, more natural garland, mix leaf sizes. Work some leaves in a thinner yarn with a smaller hook for petite versions, and keep the rest at full size. Scatter the small leaves between the big ones along the chain and the garland looks gathered rather than uniform — like leaves that actually fell.
Tip: make two or three extra small leaves and tuck them into the gaps after hanging — it is the quickest way to make a garland look lush.
Caring for your maple leaf garland
- Hand wash only when needed: use cool water and a little mild soap, whether your yarn is cotton or acrylic.
- Never twist or wring: the small chain arches on the leaf edges stretch out of shape easily.
- Dry flat: press the garland gently between clean towels to take out the water, then lay it flat to dry.
- Keep it away from high heat: heat softens the stitches and the leaves lose their crisp points — hang it well clear of the stove.
That is the whole project: one clever little leaf, repeated in whatever colors you love, strung on a chain. Start with five leaves in classic autumn shades this weekend and see how fast the rest follows. Happy fall crocheting!
Pattern adapted from the step-by-step maple leaf garland tutorial on Cozy Yarn Vibes (cozyyarnvibes.com). The source article did not include any video tutorials.
