
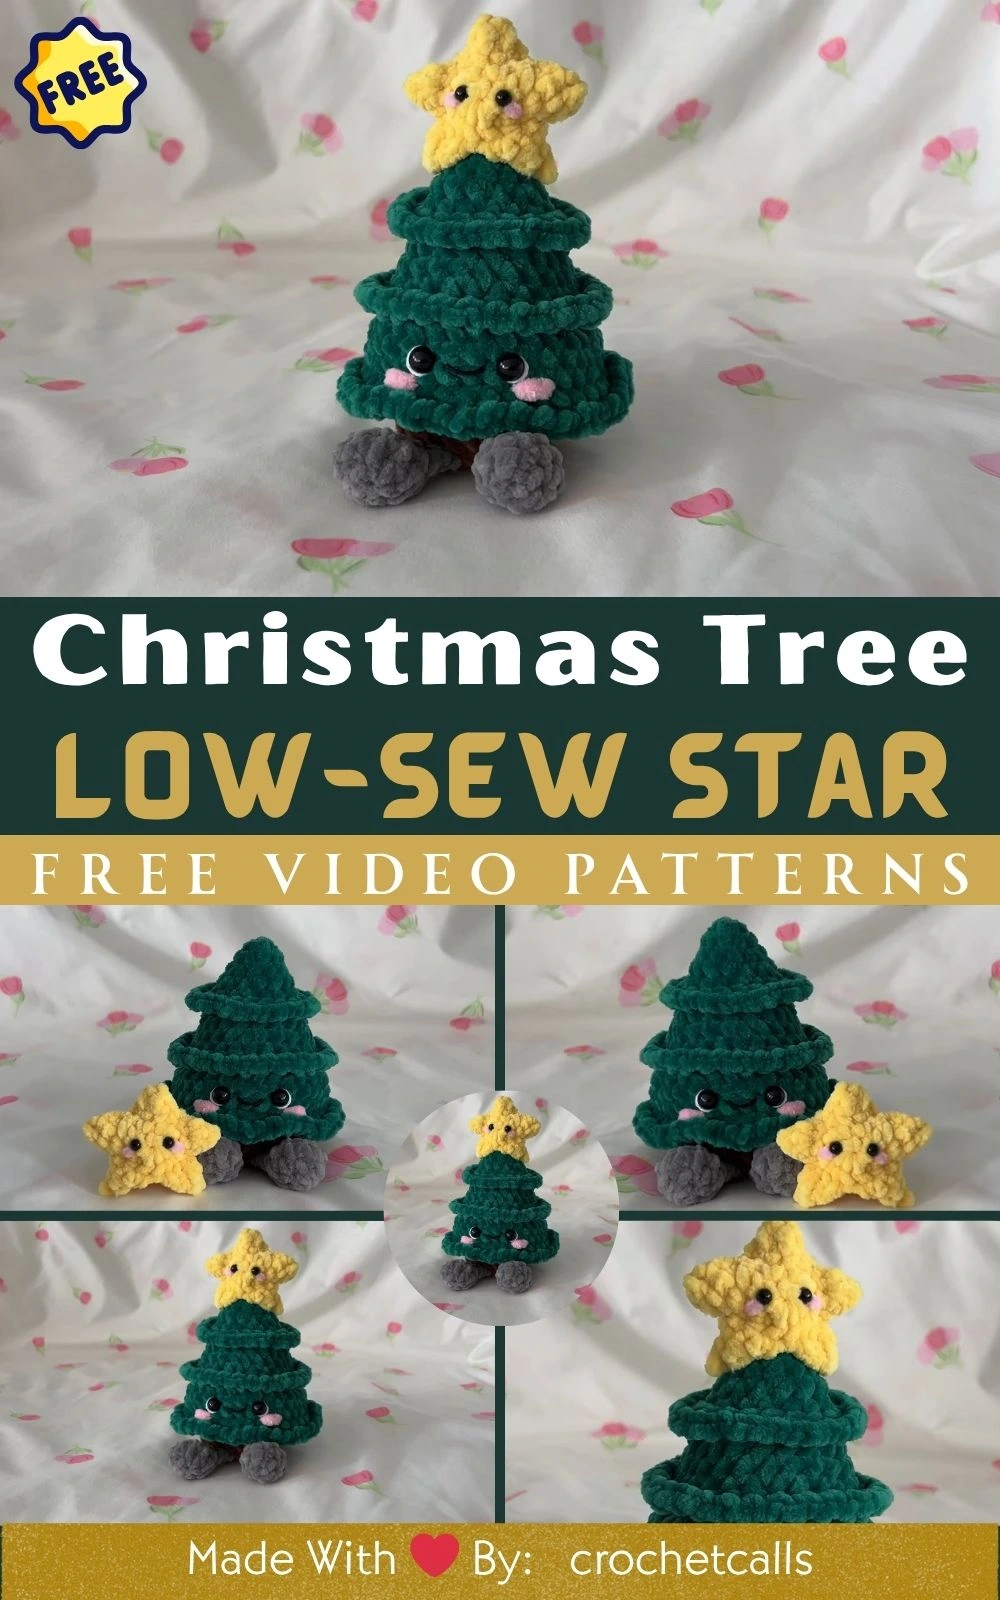
Nothing says handmade holidays like a tiny crochet Christmas tree of your very own. This project is a squishy amigurumi tree worked in the round, topped with the cutest low-sew star — worked in rows and attached with a single hidden stitch or a dab of fabric glue. It is ideal for all skill levels: beginners will love the straightforward construction with minimal sewing, and advanced crocheters can have fun adding embellishments and fancy textures. The pattern includes a free step-by-step video tutorial that walks you through each stitch.
What you’ll need
- A crochet hook (3.5–4 mm; adjust size to match your yarn tension)
- Worsted weight (Category 4) yarn: green for the tree body, yellow or gold for the star, plus red, white or glitter yarn for accessories if you like
- Polyester fiberfill (or scrap yarn) for stuffing
- 6–8 mm round safety eyes — or embroider the eyes with black yarn for a child-safe version
- Tapestry needle, scissors, and stitch markers
- Optional: pins for placement before final stitching, tiny beads, pom-poms or bells for decoration
 Save
1. Plush Christmas Tree with Low-Sew Star
The tree body is worked in the round with simple increases and decreases to build a softly rounded, pyramid shape. The face goes on before you close the bottom: attach safety eyes between rounds 8 and 9, about 6 stitches apart, and embroider a small closed smile (a gentle “u” shape) underneath. Shape the base with gradual decreases while stuffing firmly as you go — this prevents lumps and gives the tree its cute, plump look. The star topper is worked in rows and shaped into a classic 3D star, then glued or stitched to the top with almost no sewing at all.
Video tutorial: the step-by-step tutorial for this exact tree
Tip: keep your stitches snug so the fiberfill doesn’t peek through, and use stitch markers to mark the start of each round — it keeps the increases even and the shaping neat.
Making the face
Attach or embroider the face before closing the bottom of the tree, while the piece is still flat and open. For a blushing look, add a tiny amount of pink yarn or felt circles next to the eyes before stuffing. Test eye placement with pins first if you are unsure.
Tip: use the invisible-decrease (front-loop) stitch for the shaping rounds — it avoids bulky seams and keeps the surface smooth.
Making the low-sew star
The star is worked in rows: chain 2, work 5 single crochets into the second chain, then shape the 5 points with short rows and slip stitches. Tie off, weave in ends, and attach to the top of the tree with a single hidden stitch or a dab of fabric glue.
Tip: if you want a child-safe toy, skip the safety eyes entirely and embroider all facial features instead.
Customizing your tree
- Rainbow tree: work in stripes of pastel or bright rainbow colors
- Winter wonderland: use white yarn with sparkly thread and snowflake details
- Dressed up: crochet a little scarf, bow or heart-shaped ornament
- Festive fun: add pom-poms, mini buttons or bells
- Textured yarn: try velvet or chenille for a super-cuddly finish
Caring for your crochet Christmas tree
- Hand wash gently: use mild soap and water, never a machine wash.
- Air dry completely: reshape the tree while it dries to keep the plump, rounded shape.
- Keep out of direct sunlight: greens and reds fade faster in strong light, even through a window.
- Store gently: tuck the tree into a breathable container or give it a cozy home on display between holidays; don’t crush stuffed pieces under heavy decor.
- Check the eyes: if little hands will play with the tree, embroider facial features instead of using safety eyes.
A sweet little tree, a clever low-sew star, and a free video tutorial — everything you need for a handmade holiday. The plush-tree idea is inspired by mominastitch.com. Happy holiday crocheting!
Sources: project inspiration from mominastitch.com. All descriptions are original; pattern and video credit belongs to the linked creators.
