
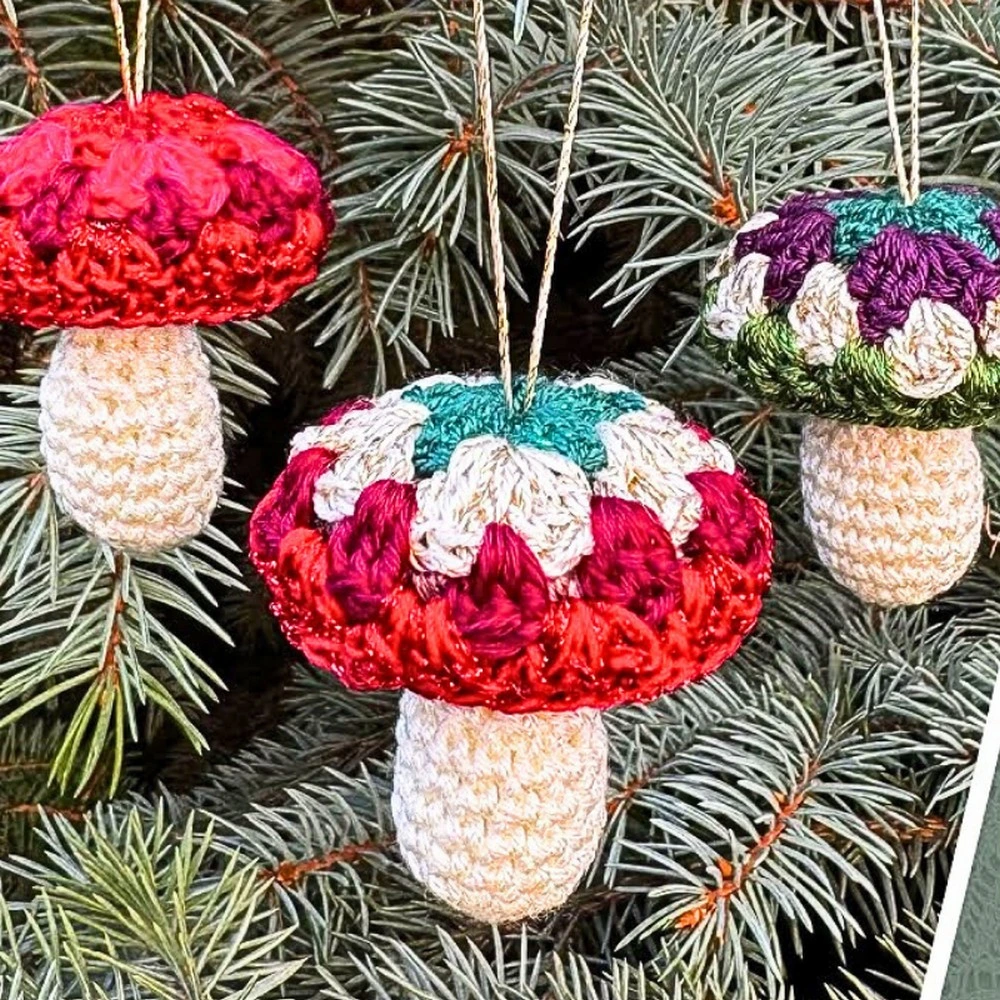
Some ornaments are pretty, and some look like they wandered in from a storybook forest — this little mushroom does both. It starts as a plain narrow stem, then grows a soft stuffed under-cap and a lacy open-work top cap worked in classic granny-style clusters. At just 2–3 inches tall, it’s a fast, scrap-friendly make: one evening, a few leftover bits of fine yarn, and your tree gains a tiny woodland guest. Work it in classic red and white, or change the cap colors to match your decorations — because it’s so small, even one swapped color completely changes the mood.
What you’ll need
- Fine yarn in red, white, and one more color of your choice for the stem and cap
- 2.1 mm crochet hook, or a size that suits your yarn
- Poly-Fill stuffing for the stem
- Scissors
- Tapestry needle for weaving in ends and joining the pieces
Free Crochet Granny Square Christmas Mushroom Ornament
 Save
1. Granny Square Christmas Mushroom Ornament
This whole ornament is built in three parts, and each one is simple rounds — the shaping does all the work. The stem starts with a magic ring of 5 single crochets, increases to 15 stitches, works a few even rounds, then decreases back to 10 and continues straight, which gives you a fuller base that narrows before the cap. Fasten off, switch to your under-cap color, and work three rounds of double crochet (increasing to 30 stitches), stuffing the stem with Poly-Fill before you close up so it holds its plump little shape. The top cap is where the granny character comes in: begin with 15 double crochets in a magic ring, increase to 30, work one even round, then finish with a round of 3-double-crochet groups worked into the 10 gaps around, so the open spaces between the groups create that lacy granny-square look. To assemble, set the under-cap on top of the stem and join with a round of single crochet (or the joining method shown in the tutorial), attach the upper cap with a round of slip stitch, and weave in your ends. Want it more festive? Sew on tiny white dots or beads for the classic spotted look, try glitter yarn for a bit of sparkle, or scale up with thicker yarn and a bigger hook for a statement-sized version — just expect the proportions and stitch counts to shift as you resize.
Video tutorial: https://www.youtube.com/watch?v=y6Ei16SVS6o
Tip: Two spots decide how neat this mushroom looks. First, add the stuffing a little at a time instead of one big wad — the stem stays straight and the stitches don’t distort. Second, when you work the cap’s cluster round, make sure your hook goes into the gap between groups, never into a single stitch; those even open spaces are the whole granny effect. Before you secure the ends, check the cap from above and from the side so it sits centered on the stem.
Caring for Your Crochet Mushroom Ornaments
- Give them a gentle dust with a soft, dry cloth before they go back in the box after the holidays.
- Spot-clean any marks with a slightly damp cloth and let them air-dry completely — no machine washing.
- If a cap gets squashed in storage, reshape it with your fingers and let it dry in shape.
- Store them in a small box with a little tissue paper around each one, so heavier ornaments don’t flatten the open-work caps.
That’s the whole project — a shaped stem, a puff of stuffing, and one lacy little cap. I love how the open granny stitches catch the lights on the tree. Make a small family of them in different palettes and scatter them through the branches, or tie one onto a wrapped gift as the tag everyone keeps.
