
Instead of stuffing a solid crocheted sphere, this project takes the openwork route: a lacy Christmas ball made from two identical thread-crochet hemispheres that are joined edge to edge, soaked in a potato-starch solution, and dried over a small balloon so they set into a light, airy orb. The finished ornament has the look of old-fashioned lace trims — picots, arches, and chain spaces in fine cotton thread — and it’s the free pattern from diycrafts.life that shows every stage, with an embedded video tutorial from the original designer. The description below is my own retelling; the design itself belongs to the original creator.
What you’ll need
- Fine cotton thread — the original calls for YarnArt Violet (50 g / 282 m); any similar fine-weight cotton thread works
- 1.5 mm crochet hook
- Small round-bottomed balloon, used as your shaping form
- Potato starch and boiling water, for the stiffening bath
- Scissors and a darning needle
- Ribbon or cord for the hanging loop (optional)
How to Craft a Stunning Crochet Christmas Ball Ornament
 Save
1. Lace Christmas Ball Ornament (Balloon-Shaped)
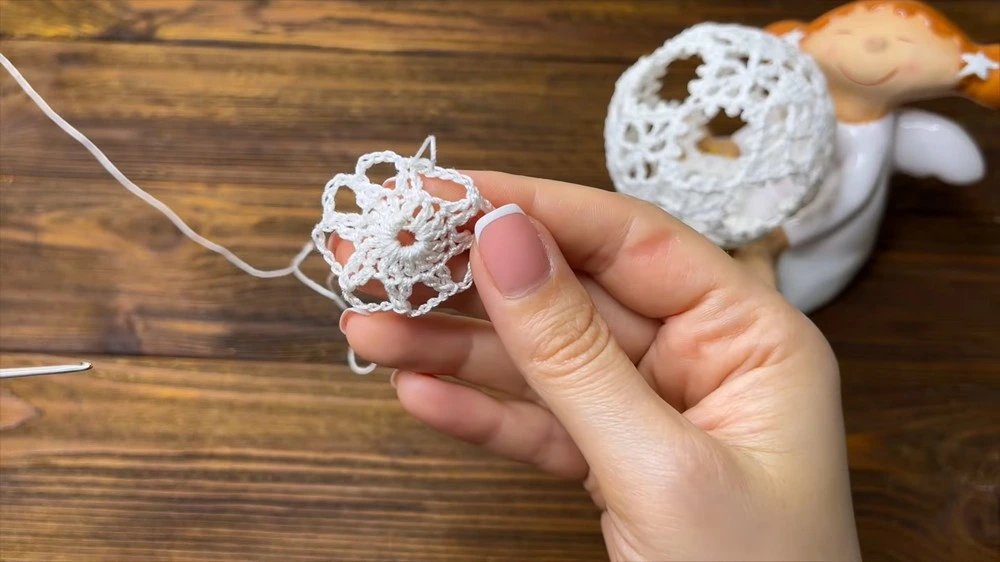
Each hemisphere is built through five rounds in fine thread: a foundation circle of 16 double crochets, then rounds of decreases and chain-5 spaces that grow into the decorative arches, picots, and openwork that give the ball its lacy look. The second half is made the same way, and its final round joins the two pieces together as you stitch — no sewing between halves. Once joined, the whole piece goes into a starch bath, a balloon is slipped inside and inflated, and the wet lace dries overnight around it, coming out a firm, round ball roughly 6–8 cm across. The trickiest bit isn’t the crochet at all — it’s the shaping: keep the picots pointing outward as it dries, and give it the full 24 hours before popping the balloon.
Video tutorial: Crochet CHRISTMAS BALL ornament and stiffness — crochet, joining, stiffening and balloon shaping, by Irina Tsokalo
Tip: don’t judge the stiffness while the ornament is still wet — symmetry and picot placement matter most at that stage; the firmness only comes after the full drying day.
Why the two-stage approach helps
Thinking of this as two separate projects makes the pattern much friendlier. First comes the crochet: five rounds per hemisphere, with the open chain spaces forming the scaffold for the arches in the following rounds — take your time here, because uneven early rounds show up later. Then comes the shaping: the starch soak and the balloon turn two flat-ish lace bowls into a true three-dimensional ball. If the foundation circle twists in round 1, rip it back and redo it; if the ball looks lopsided while wet, adjust the balloon and the lace around it before leaving it to dry.
Caring for your lace Christmas ball
- Dry it a full 24 hours. The surface can feel dry while the inside is still damp — removing the balloon early lets the ball sag.
- Store it in tissue. Nest it in a tissue-lined box and never stack heavier decorations on top of it.
- Dust, don’t wash. A soft brush or a puff of cool air from a hair dryer is all starch-stiffened lace needs.
- Re-stiffen when it softens. A season or two of hanging can relax the starch; a fresh soak and another night over the balloon brings it back.
- Keep it dry in storage. Dampness is the one thing a starch-stiffened ornament can’t forgive.
- Make it yours. Metallic or glitter thread for sparkle, alternating colors between rounds, sewn-on beads, a ribbon hanger — or a whole matching set for the tree.
A ball this delicate-looking fools people — once the starch has set, it’s a sturdy little ornament that hangs beautifully on the tree or in a window. Happy crocheting!
Pattern concept: DIY Crafts (diycrafts.life). Video tutorial by Irina Tsokalo on YouTube.
