
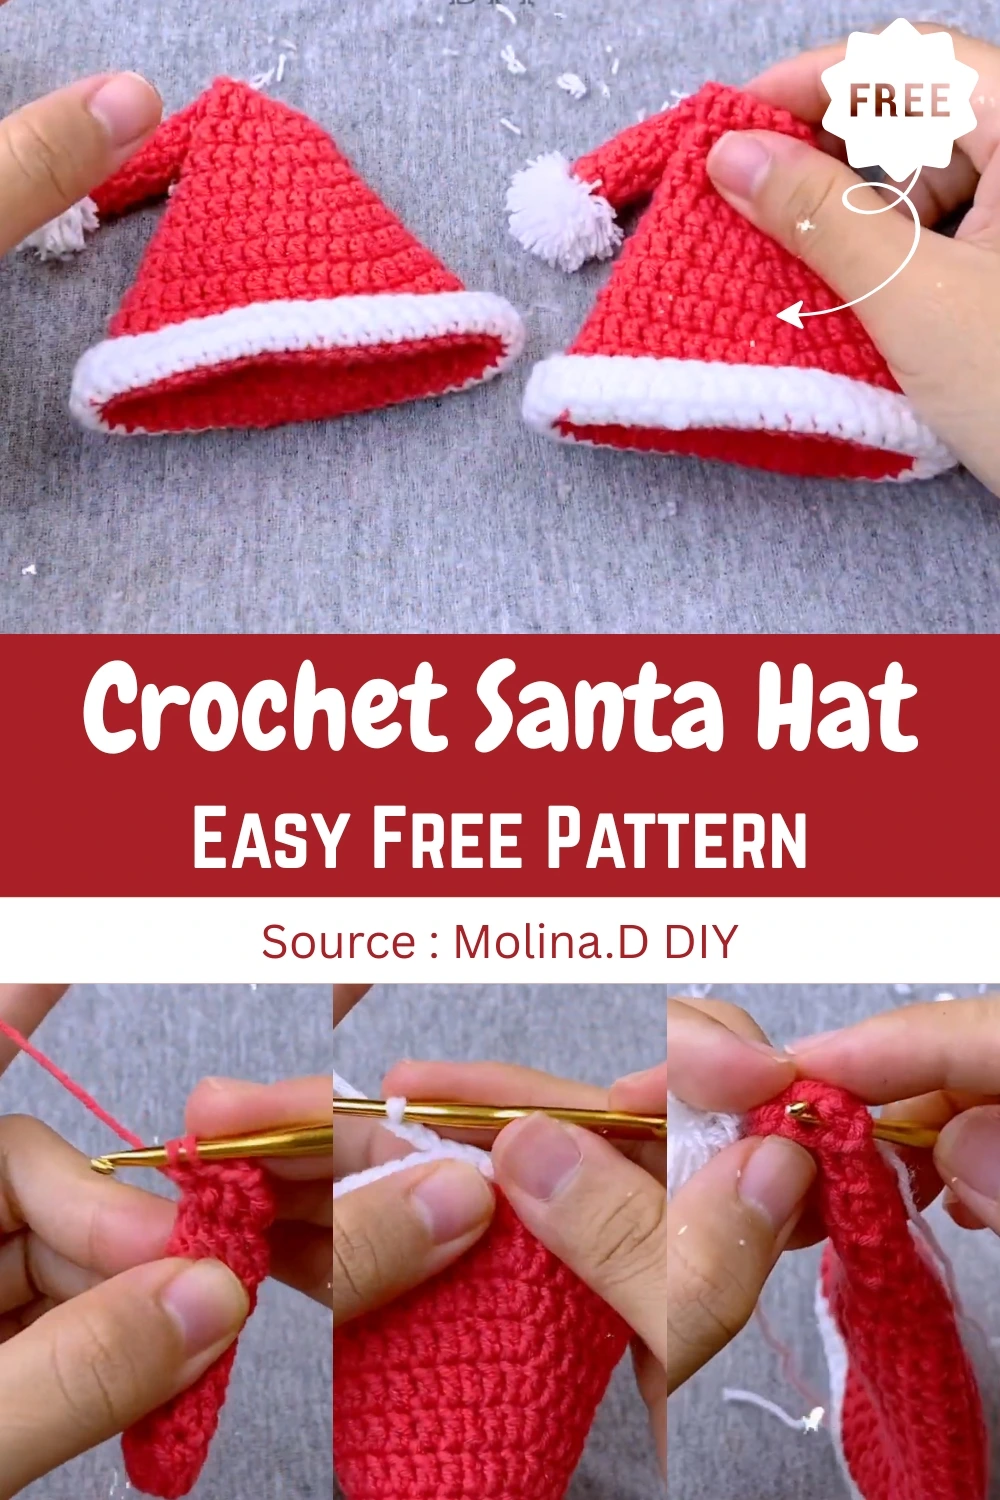
There are few things more fun to make in December than a tiny Santa hat. This pattern gives you the classic shape — a long red cone, a soft white ribbed brim, and a fluffy pom pom on the tip — and it’s friendly for beginners, since it sticks to double crochet, half double crochet, and a little post-stitch ribbing. Hang it on the tree as an ornament, or work it in a bigger size: the pattern scales up easily, so you can make a matching set for the whole family, a party, or a handmade gift.
What you’ll need
- Worsted weight (#4) yarn — about 2¾ oz red and 2 oz white
- A 5.5 mm (US I-9) crochet hook
- Tapestry (yarn) needle and scissors
- Optional: a stitch marker to keep track of your rounds
- A little extra white yarn for the pom pom
The Pattern
 Save
1. Mini Crochet Santa Hat Ornament
The hat starts at the tip with a magic ring in red yarn and 6 double crochets, then grows through steady increase rounds — alternating a plain double crochet round with an increase round — until you reach 60 stitches. A few more plain rounds give the body its length, and then comes the part that makes it look like a proper Santa hat: switch to white and work several rounds of alternating front post and back post half double crochet, which creates that soft ribbed brim. A final round of single crochet neatens the edge, and a handmade pom pom goes on the tip to finish. The stitches used are simple ones — chain, double crochet, half double crochet, slip stitch — and the video walks through the whole hat step by step, so you can crochet right along with it.
Video tutorial: Easy Crochet Christmas Santa Hat Tutorial (Molina.D DIY)
Tip: The source pattern skips a couple of round numbers in its written notes, so follow the stitch counts (6, 12, 18, 24, 30, 36, 42, 48, 54, 60) as your guide — they’re the reliable part.
Caring for Your Santa Hat Ornament
- Store it flat in a small box or zip bag with a little tissue so the cone keeps its shape.
- Acrylic yarn picks up dust — give it a gentle shake or a once-over with a soft, dry cloth before it goes on the tree.
- If the brim looks a bit sleepy after a season in storage, reshape it with your fingers; a light steam from a few inches away helps too.
- Fluff the pom pom with your fingertips and snip any stray strands so it looks fresh.
- Keep it somewhere dry and out of direct sun so the red stays bright year after year.
One little hat, one cozy evening of stitching, and a tree that suddenly looks a lot more festive. Make the mini version for your branches and gift toppers — and if you fall for it the way I did, size it up and make one for everyone at the table. Happy stitching!
